


The Contract Administrator will workflow to the Vendor in Sent to Vendor state if participating. If Vendor is not participating the Contract Administrator will workflow to Awaiting Vendor signature.
|
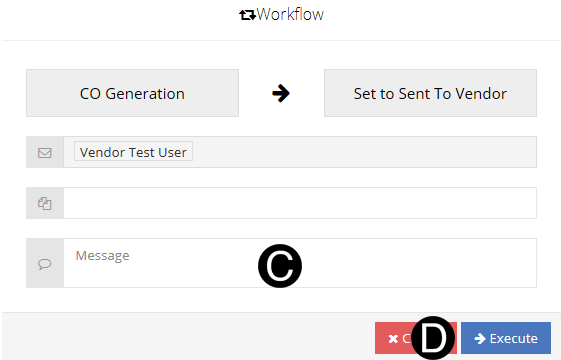
Once a Change Order is submitted by the Contract Administrator it moves to the Vendor in the Sent to Vendor state.
|
![]()
![]()
|

|
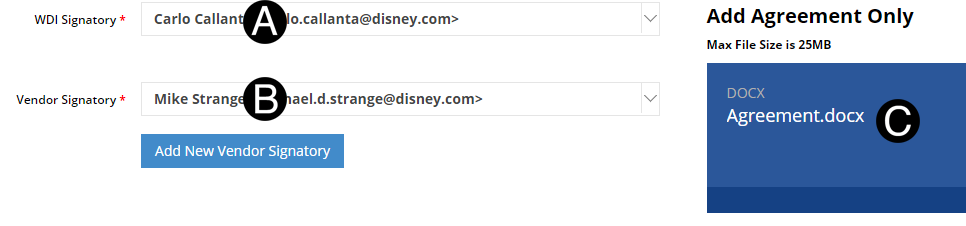
Verify or update WDI Signatory.
Verify or update Vendor Signatory.
Add Agreement.
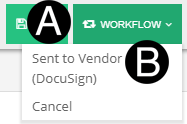
Click Workflow.
Select Sent to Vendor (DocuSign).
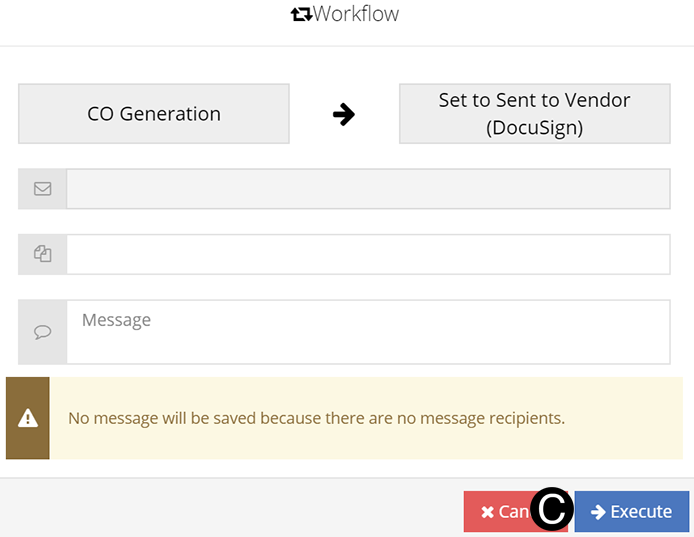
Click Execute.
|

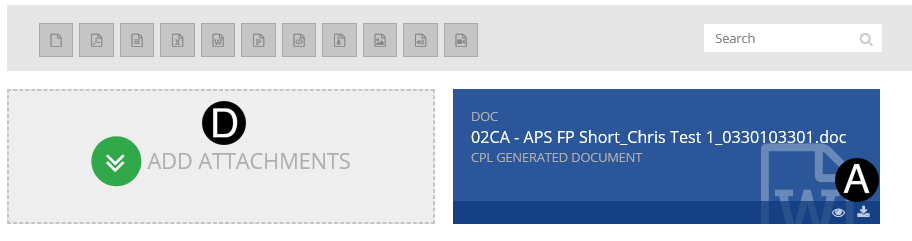
In References and Attachments section Click ![]() download
icon to download the Change Order file.
download
icon to download the Change Order file.
Review Change Order file and make any changes as needed.
Save Change Order file as PDF.
Click on Add Attachment.
Browse for updated Change Order file, Click Open to attach.
Click  to
make Change Order visible to Vendor.
to
make Change Order visible to Vendor.
Delete old Change Order file by clicking (trashcan icon).
|
 Or
Or
Screen Capture of Participating Vendor Workflow
 .
.