


The Project Estimator creates the Change Order Lean with CD and bundles settled CDs and adds attachment(s), as required.
Once a Change Order Lean with CD is initiated and submitted it is Workflowed to the Responsible Individual in the Settled state.
Click Contract Management on Navigation Pane to expand.
Click Change Orders.
Click the Actions Drop Down List..
Select Create Change Order (Lean With CD).

|
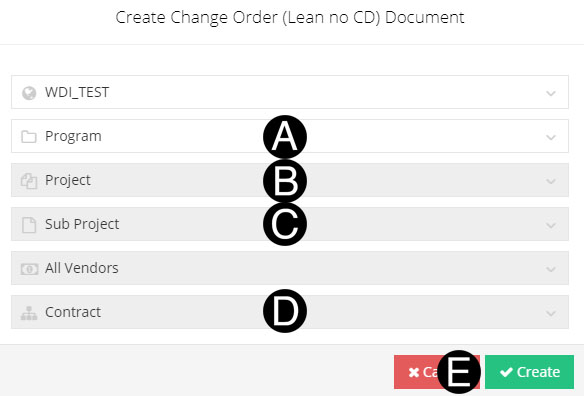
Select/Verify Program from the list.
Select/Verify Project from the list.
Select/Verify Sub Project from the list.
Select/Verify Contract from the list.
Click Create
![]()
|

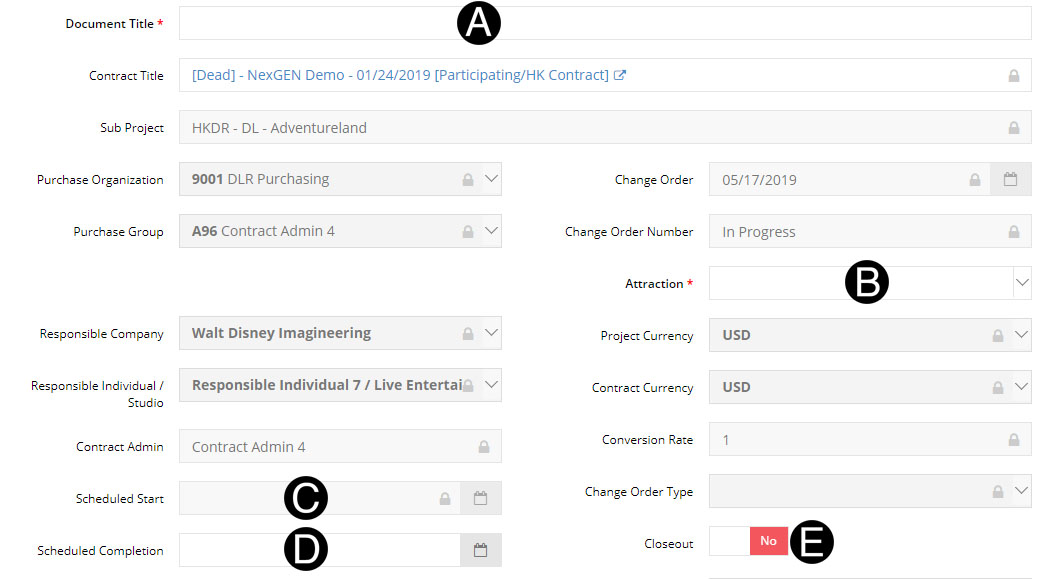
Type Document Title in the field.
Select Attraction from list.
Select Scheduled Start from date picker. (Optional)
Select Scheduled Completion from date picker.(Optional)
Verify Close Out yes or no.
|
Type Scope in the field.

Select any Directive that have or will be settled for this Change Order. This selection pre-populates the SOV Line Item Detail.

![]()
Click 
|
.
Select Tax Detail from drop-down list.
Enter the Settled Value.
Further breakdown can be entered by clicking Create Rows button.


Select Approver from drop-down list.
Select Date from date picker.
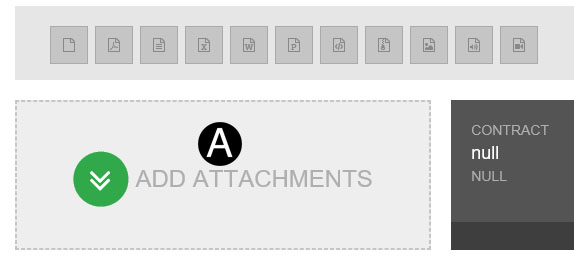
Click Approval Attachment.
Select the file to attach (Holding down Ctrl to select multiple attachments).
Click Open to attach the document.


Click ADD ATTACHMENTS.
Select the file to attach (Holding down Ctrl to select multiple attachments).
Click Open to attach the document.
|
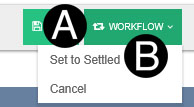
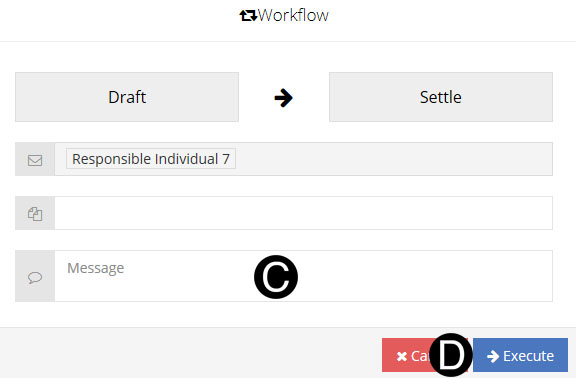
Click Workflow.
Select Set to Settled.
Type a message in the Custom Message field to include in the Email notification (optional).
Click Execute.
 or Not Visible
 .
.