


PWA JFCs are created and workflowed to the Studio Finance, and Project Finance.
Once JFC is submitted by the RI to the PE/PF, it moves from the Draft to Funding/WBS Assignment state.
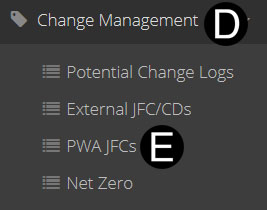
Select Change Management on Navigation Pane to expand.
Click PWA JFCs.
Click  .
.
|
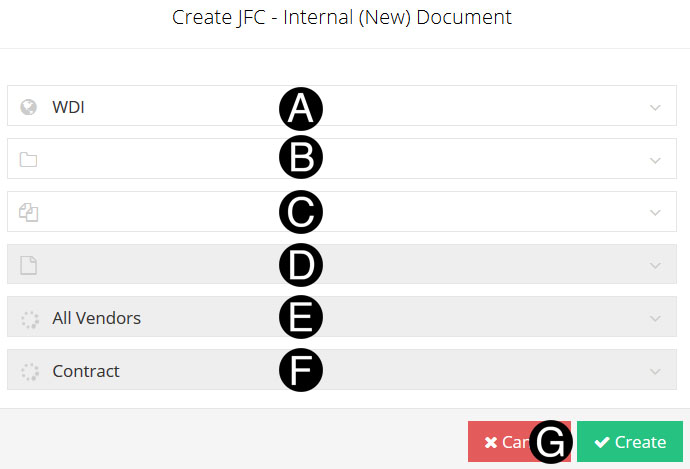
Select/verify Org from the list.
Select/verify Program from the list.
Select/verify Project from the list.
Select/verify Sub Project from the list.
Select/verify Vendor from the list.
Select/verify Contract (PWA) from the list.
Click Create
![]()

Enter the Document Title in the field.
Select Schedule Completion from the date picker.

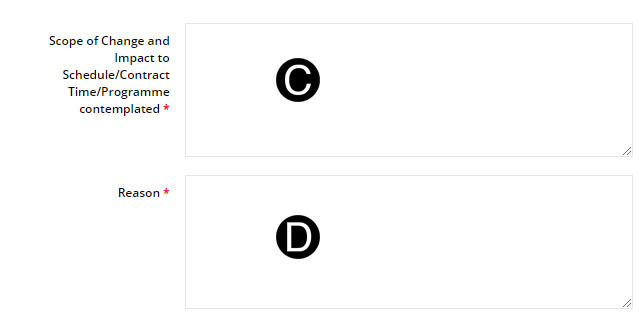
Enter Scope of Change and Impact to Schedule/Contract Time/Programme Contemplated in the field.
Enter Reason in the field.

Select WBS from the list.
Select Network Activity from the list. (Optional)
Select Cost Center from the list. (Optional)
Enter in Labor Rate. If Cost Center is selected Labor Rate will auto-populate per the Cost Center current Standard Labor Rate.
Enter Hours in the field.
Select Cause of Change from the List.
Adjust Contingency Amount as needed. Click Contingency Amount box to open window,
Select Contingency Code from the list.
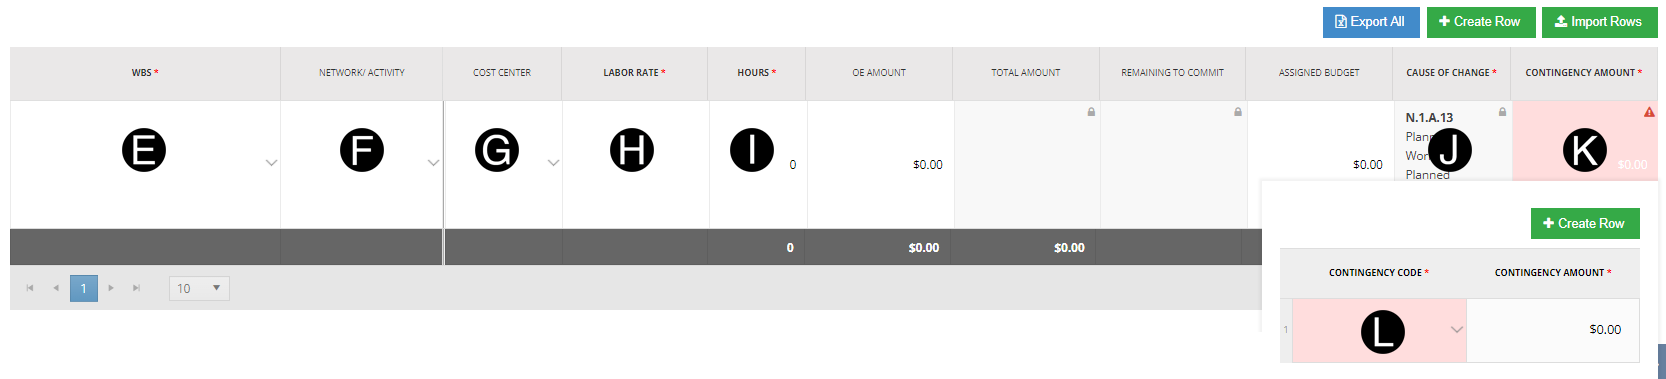
.
|
![]()
Click  .
.
Click ADD ATTACHMENTS.
Select the file to attach (Holding down Ctrl to select multiple attachments).
Click Open to attach the document.

![]()
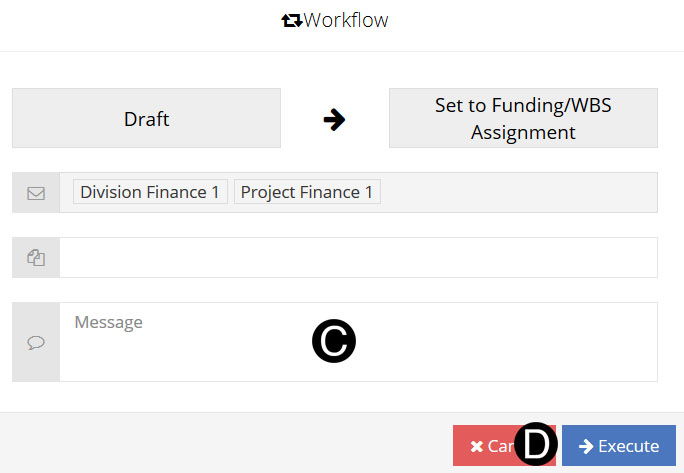
Click Workflow
Select Set to Funding/WBS Assignment from the list.
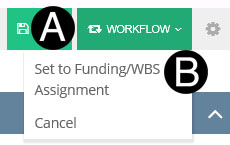
Type a message in the Message field to include in the Email notification.
Click Execute.