


Creation of a travel plan that allows the project team and our Global Mobility partner to manage a projects budget and requirements. The Initiator can create a Draft or modify an existing Draft which will include all of the needed arrangements for the Travel Authorization. The Initiator can also create a Travel Authorization for Vendors if needed.
Once the Travel Authorization is initiated and submitted, it is workflowed to the Studio Lead if it contains no exceptions. If the Travel Authorization contains exceptions it will workflowed to the Policy Exception Approver.
|
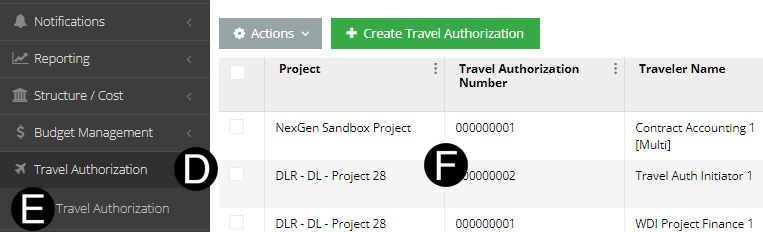
Select Travel Authorization.
Click Travel Authorization.
Select your Travel Plan that has been created in Draft form.

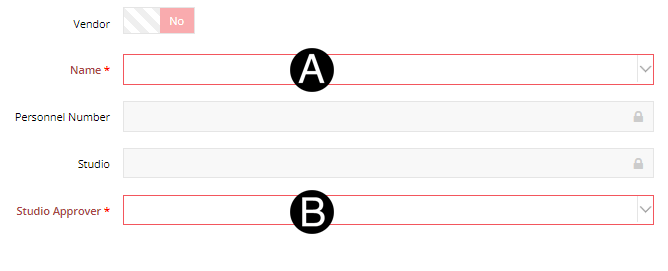
Verify Name.
Verify Studio Approver.

Verify/Modify Origin City Code.
Verify/Modify Destination City Code.
Verify/Modify Departure Date from date picker.
Verify/Modify Return Date from date picker.
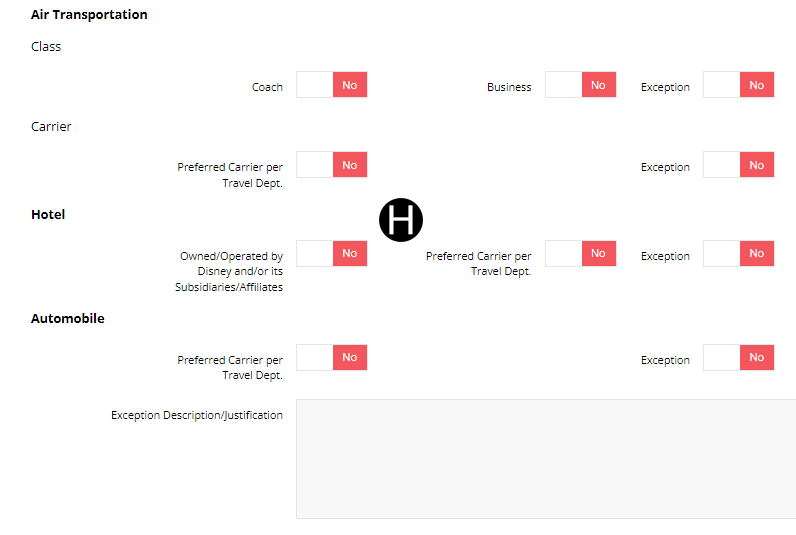
Toggle all items that apply.
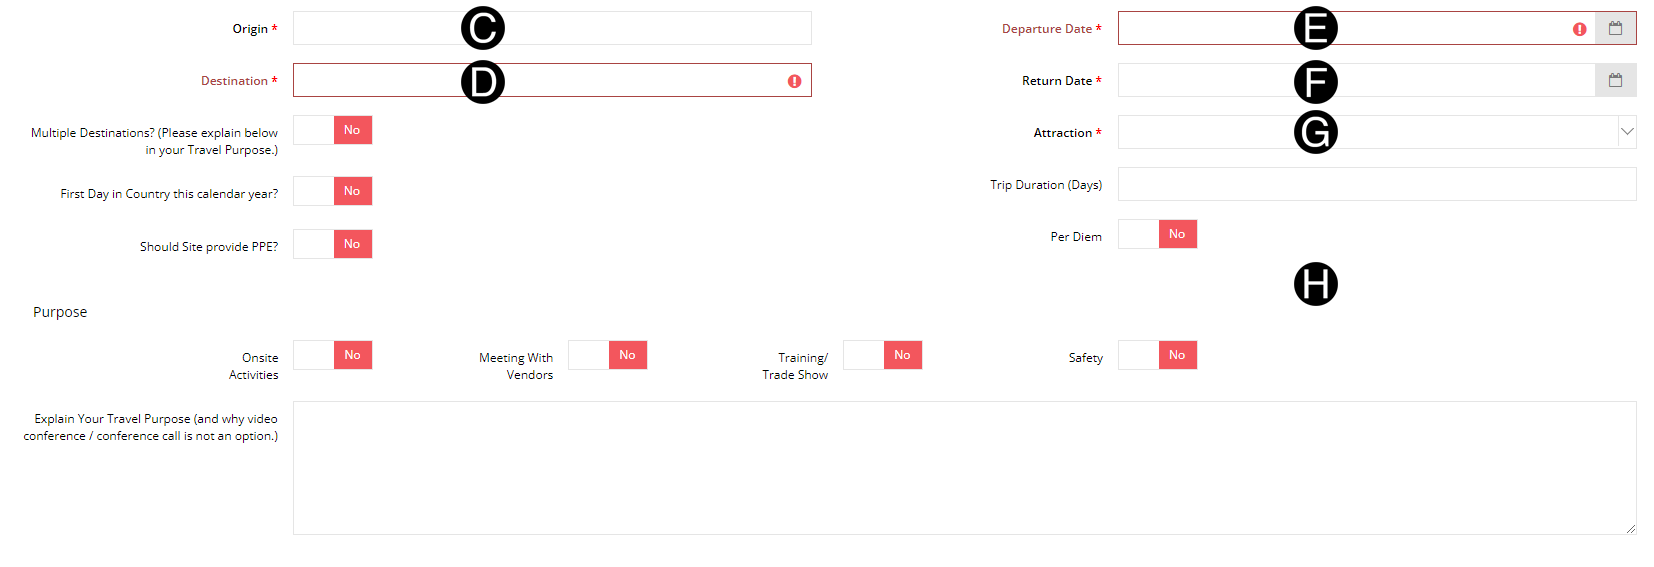

Toggle all Arrangement Requirements that apply.
|

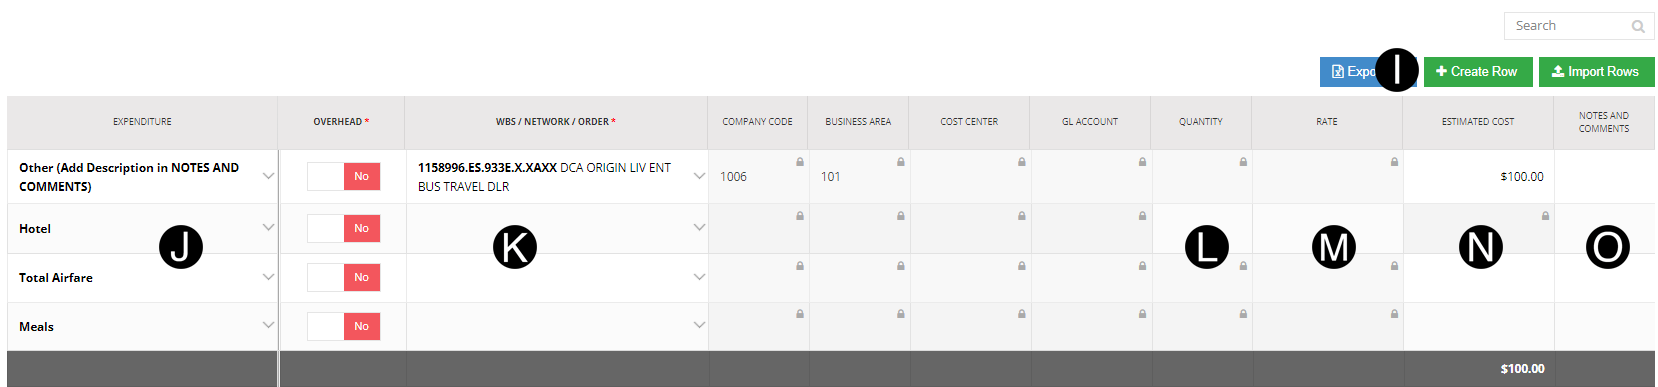
Click Create Row to add a row for each of your Travel Plan components.
Select Expenditure from drop down that applies to this Travel Plan for reach newly created row.
Select WBS/Network/Order from drop down for each row that applies to the Travel Authorization.
Enter Quantity were required.
Enter Rate were required.
Enter Estimated Cost were required.
Enter Notes and Comments if needed.
|
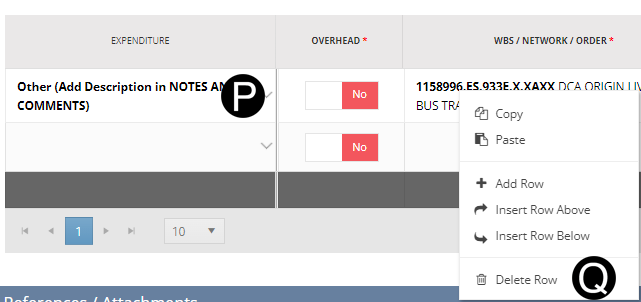
Right Click original row of the Travel Plan.
Click Delete Row.
![]()
Click  .
.

Click ADD ATTACHMENTS.
Select the file to attach (Holding down Ctrl to select multiple attachments).
Click Open to attach the document.
![]()
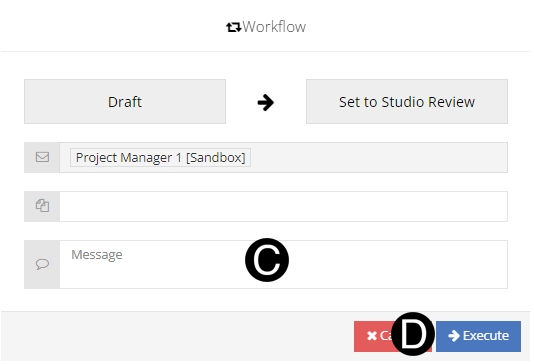
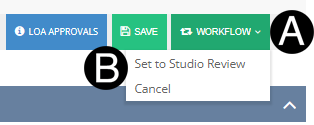
Click Workflow drop-down list.
Select Set to Studio Review.
Type a message in the Message field to include in the Email notification (optional).
Click Execute.