M1.4: Create Schedule and Publish


Description

At this stage, the project schedulers enter the high-level schedule as is known today. This schedule will be reflected on both the Blue Sky and Capital portions of a project and can be updated and published as needed.

Global Creative Strategy has to have entered a project grouping for the schedule to be shown on all projects.


Project Schedules can be high-level book ends and not the exact phase-by-phase dates.


We recommend copying and pasting the dates from column to column to minimize the number of clicks you'll need to make.


Only published schedules will appear on the Phase Gantt chart on the Projects.


Versioning will occur in Snowflake. (only should occur in Clarity if the reporting is being done directly in Clarity).


Project Start and End date will sync from object to project properties.


If actuals have already hit project, Project Start date will not be able to be adjusted.

ยท      

Outcomes


Detailed Steps


Step 1: Log in to Clarity.


Step 2: Create Phase Schedule.

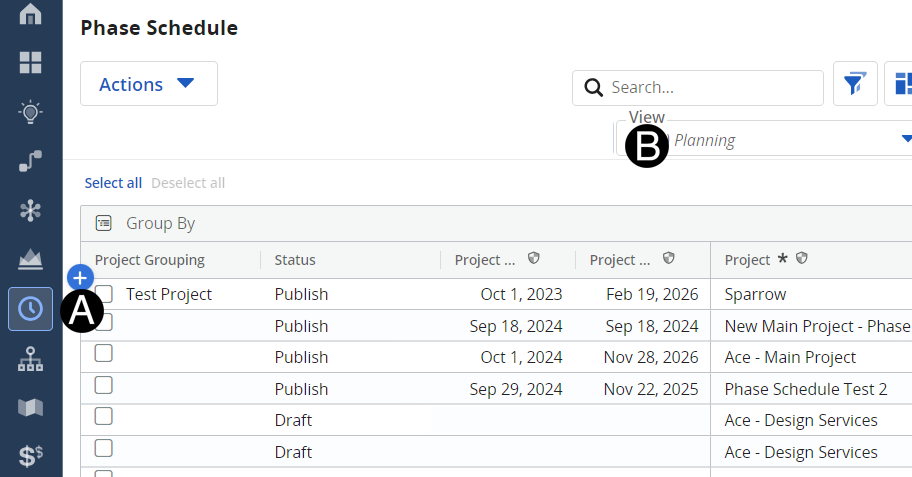
  1. Navigate to the Phase Schedule Page.

  2. Select Planning view from drop-down list.

Only Menu Lifecycle Projects should have schedules assigned to them.


Setting a project schedule to Draft prevents it from being published on the project page while it is being edited.


When the schedule is ready to publish, update the Status to Published.


  1. Select Project from list for the Project that needs a schedule created.
  2. Select Project Start from date picker.
  3. Select Project End from date picker.
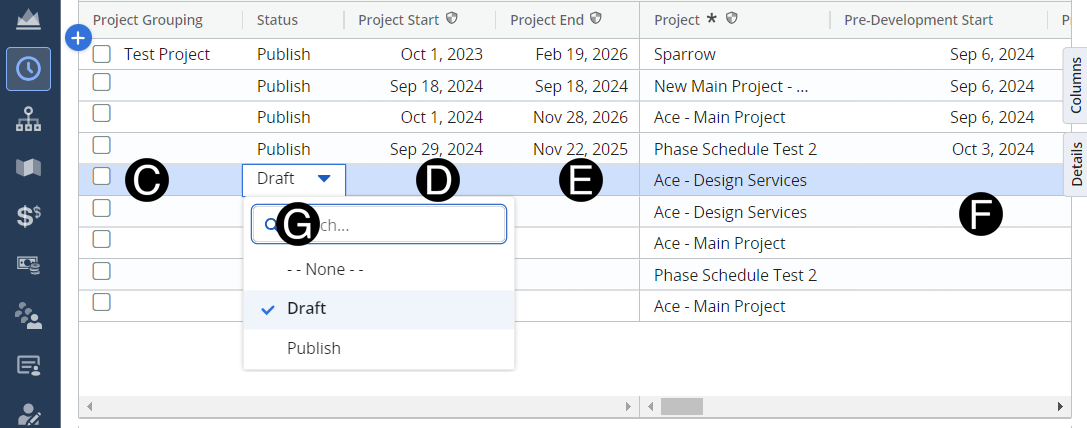
  1. Enter data in to appropriate fields using scroll bar at bottom to access columns.  

  2. Select Publish from drop-down list in Status field.