


This process walks through the project creation and the attributes that need to be filled in for a project to be created within Clarity for teams to start planning.
Clarity informs the Project Control Scheduler that they should start M1.4. it is informational for the Resource Management Admins and informs the Tech Studio Admin that they will need to start monitoring access and permissions for the project.
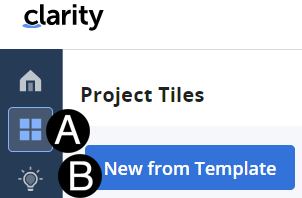
Select Projects Tiles Icon.
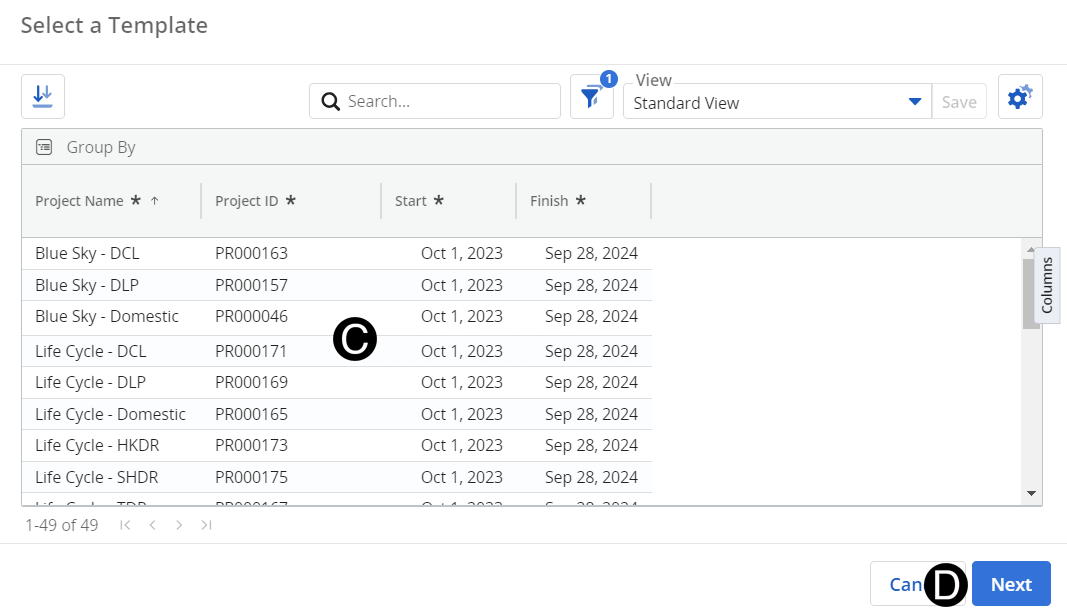
Click New from Template button.
|
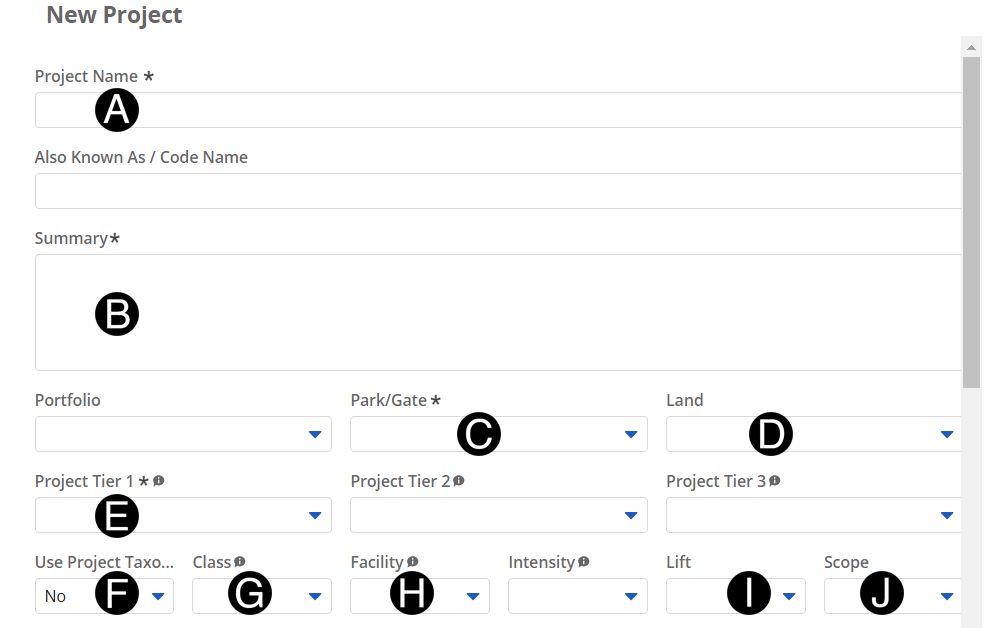
Enter Project Name.
Enter Summary.
|
Select Park/Gate from drop-down list.
Select Land from drop-down list.
Select Project Tier 1 from drop-down list.
Select Use Project Taxonomy from drop-down list.
Select Class from drop-down list.
Select Facility from drop-down list.
Select Lift from drop-down list.
Select Scope from drop-down list.
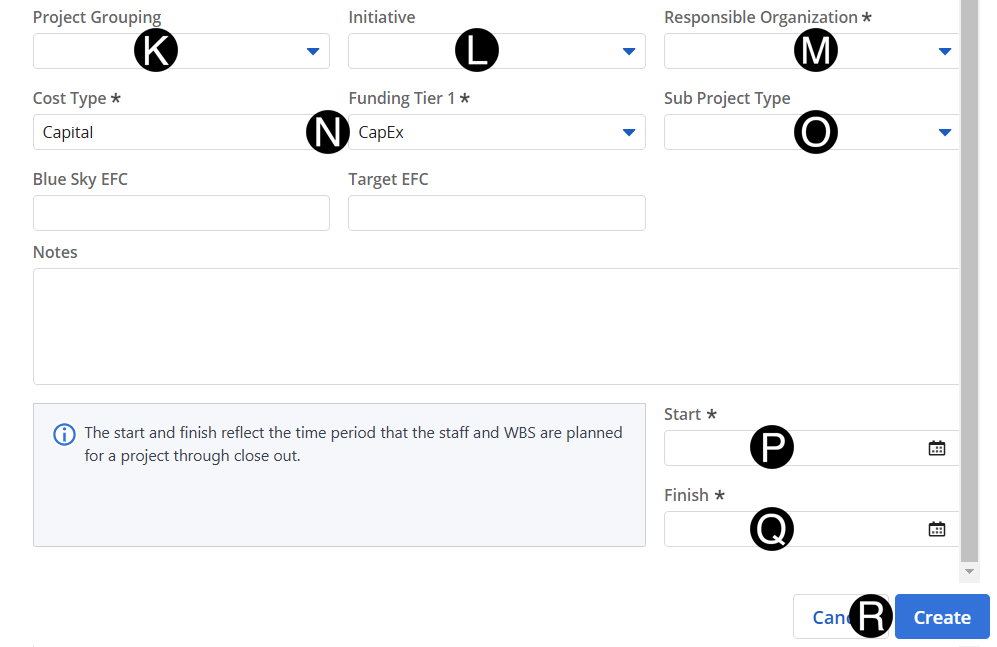
Select Project Grouping from drop-down list.
Select Initiative from drop-down list.
Select Responsible Organization from drop-down list.
Verify Cost Type and Funding Tier 1.
Select Sub Project Type(s) from drop-down list.
|
Enter Start date from date picker.
Enter Finish date from date picker.
Click Create.