


Project Estimator will receive a notification via Email for their portion of the contract (sub contract).
Project Estimator updates Schedule of Values data (i.e. milestone payment schedule, fee Reimbursables, etc.) in the SOV Details section, including WBS and Funding Assignment to send to the Project Manager for approval.
|
![]()

Examples
|
|
|
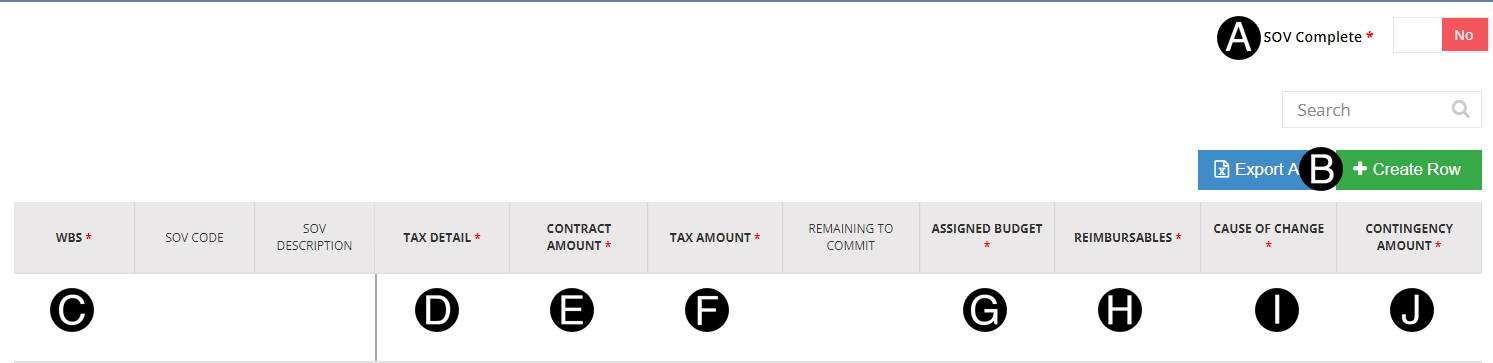
Toggle Yes or No SOV Complete.
Click  .
.
Select the WBS from the list.
Enter/Verify Tax Detail.
Enter Contract Amount.
Enter Tax Amount if applicable.
Enter the Assigned Budget.
Enter Reimbursables.
Select Cause of Change.
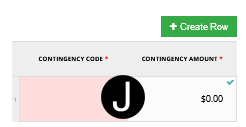
Click Contingency Amount to open pop up Window.
|
Select Contingency Code from the list and Enter Contingency Amount if applicable.
|
Click .
Select the Contra/Back Charge WBS from the list.
Enter SOV Code.
Enter SOV Description.

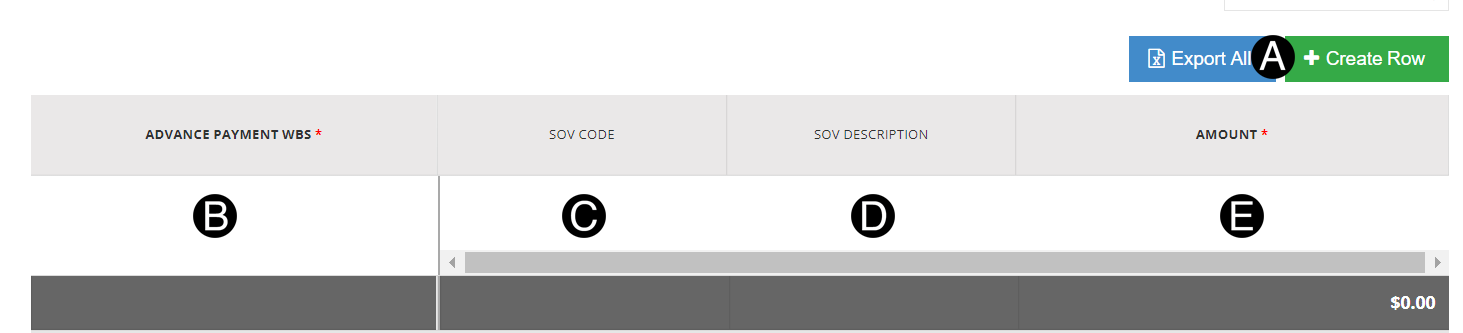
Click .
Select the Advance Payment WBS from the list.
Enter SOV Code.
Enter SOV Description.
Enter Amount.

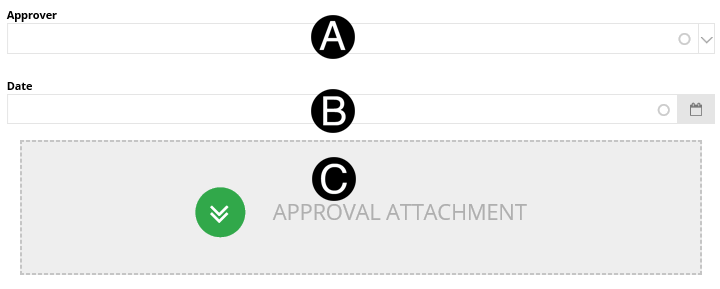
Select Date from picker.
Click Approval Attachment document.
Select the file to attach (Holding down Ctrl to select multiple attachments).
Click Open to attach the document.
The same WBS is used or the Advance Payment offset which is automatically generated with the SOV Code and SOV Description. Both are required and must be unique. Example |
The Contra/Back Charge WBS must be unique and is entered as 0.00 line as this will be a credit from the Vendor based on T&Cs in the contract. |
![]()
|

|
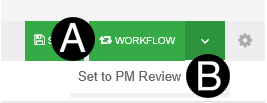
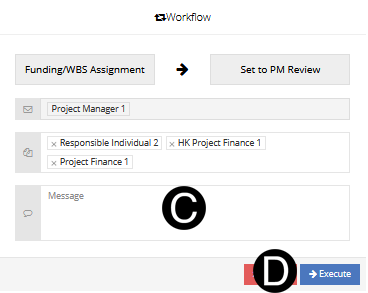
Click Workflow.
Select Set to PM Review.
|
 Tax
Amount is not available for Hong Kong Contracts or Nontaxable
Tax Disposition.
Tax
Amount is not available for Hong Kong Contracts or Nontaxable
Tax Disposition.