

D.7.1.1 Draft: Description of Overall Change,
WBS & Recommended Type/Cause of Change

Description
The Responsible Individual
or Responsible Individual
Delegate is responsible for making the request and documenting all
the details needed for the change.
Outcomes
Document all changes as part of the Change Management Process to manage
the projects.
Detailed Steps
Step 1: .
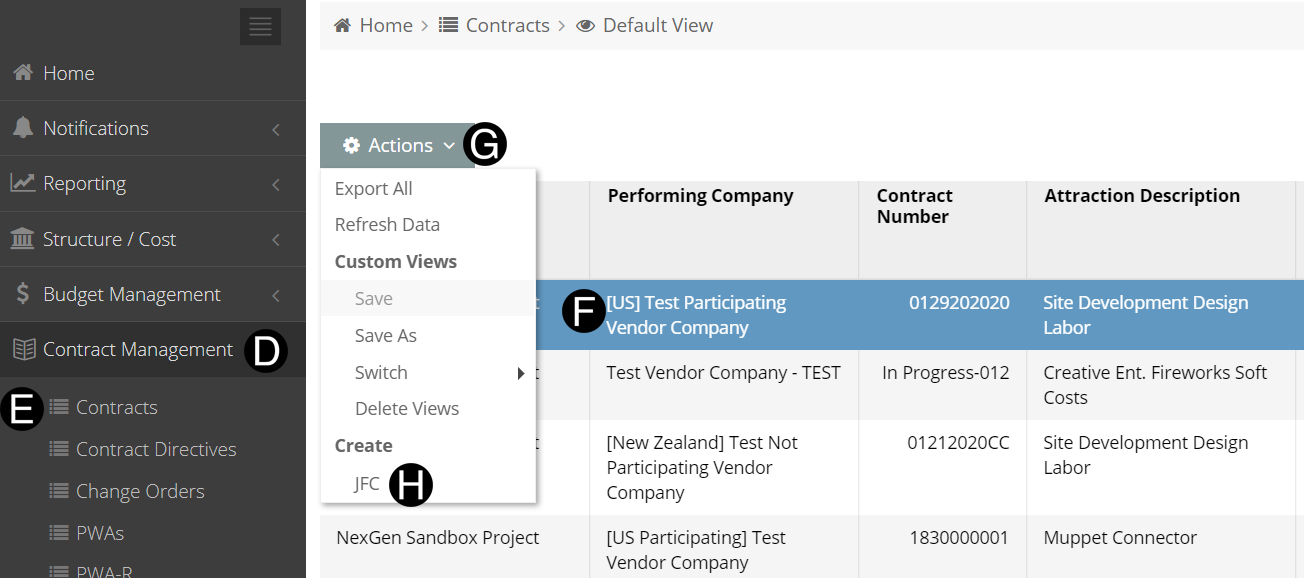
Select Contract Management.
Click Contracts.
Select the Contract.
Click Actions drop-down list.
Click JFC.
 Using the
Search box will simplify your search for your Contract. Using the
Search box will simplify your search for your Contract.
If
you are a Responsible Individual
with only access to one of any of the selections your data will
auto populate.
 Change
management is done by sub-projects only. A new sub-project
can not be added to the contract using this process. Change
management is done by sub-projects only. A new sub-project
can not be added to the contract using this process.
|


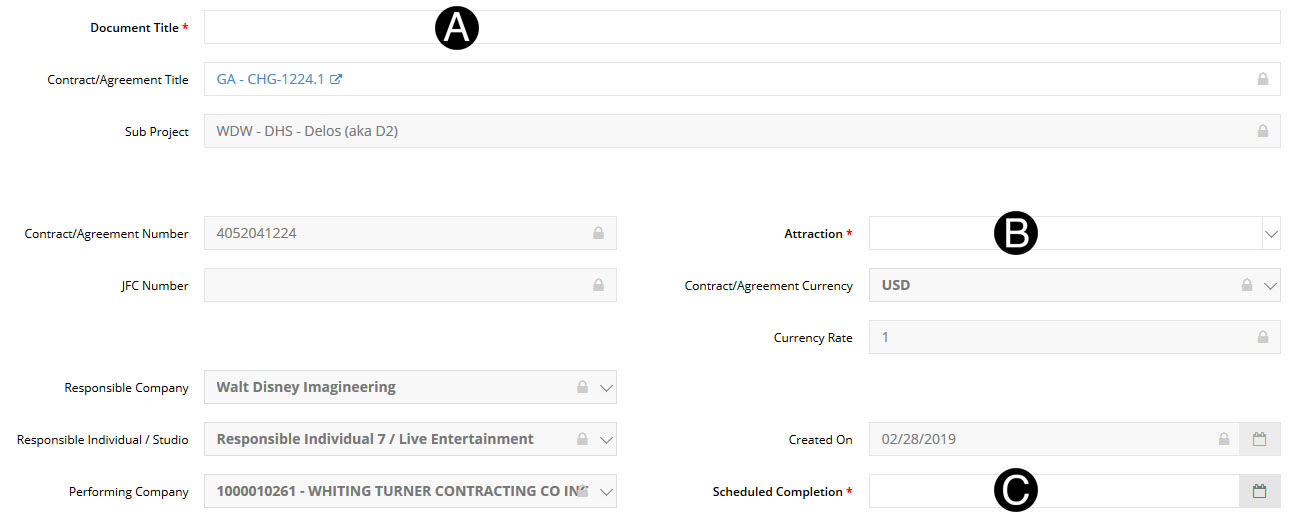
Step 2: Complete
all required fields on the Justification for Change (JFC).
Type Document Title
in the field.
Select Attraction from
drop down.
Select Scheduled Completion
from date Picker.
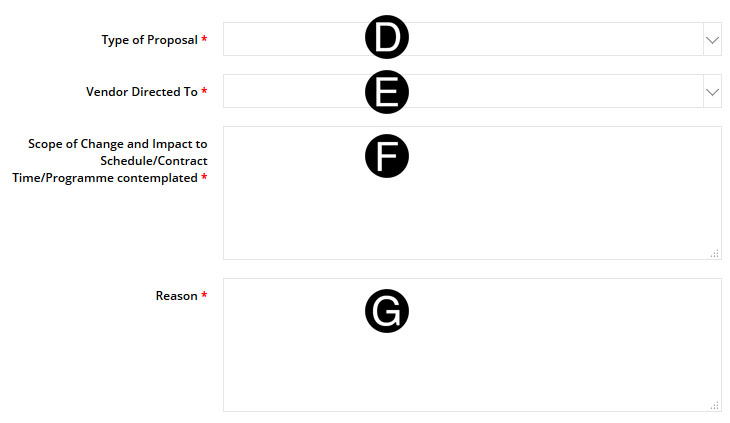
Select Type
of Proposal from drop down list.
Select Vendor
Directed To from drop down list.
Enter Scope
of Change and Impact to Schedule/Contract Time/Programme Contemplated.
Enter Reason.
Type
of Proposal is filtered based on Contract
Type from the Contract. |

Step 3: Complete all required fields under SOV Data.
Click  .
.
Select the WBS.
Enter ROM in Contract
Currency.
Toggle
Yes or NO if the
amount is Reimbursables (if applicable).
If Retention
is enabled, there will be a retention column to toggle if the
line is Retention or not. |
Select Cause of Change.
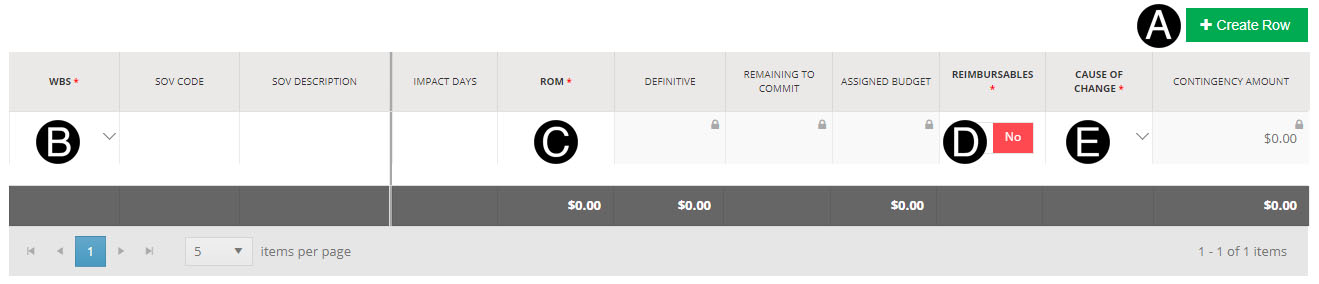
If
the same WBS/CBS is used on multiple rows on the SOV the SOV Code
and SOV Descriptions must be unique per row. |

Step 4: Save the JFC.
Click  .
.
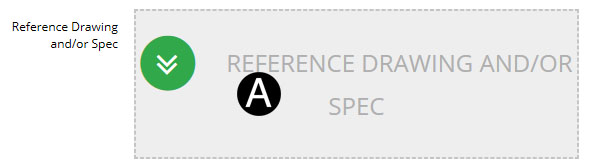
Step 5: Attach a Reference Drawing and/or Spec (if applicable).
The attachments
will be visible by default to the Vendor.
Make
applicable attachments visible to the vendor in this step as they
will carry over to the Contract Directive. |
Click Reference Drawing and/or
Spec.
Select the file to attach (Holding down Ctrl to select multiple
attachments).
Click Open to attach the document.
Step 6: Attach a Reference Document (if applicable).
A. Click
Add Attachments.
B. Select
the file to attach (Holding down Ctrl to select multiple attachments).
C. Click
Open to attach the document.
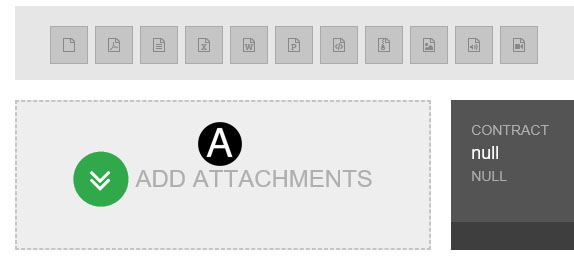
Remember the CD is part of the process
and you will need to make applicable attachments visible to the
vender in this step. |

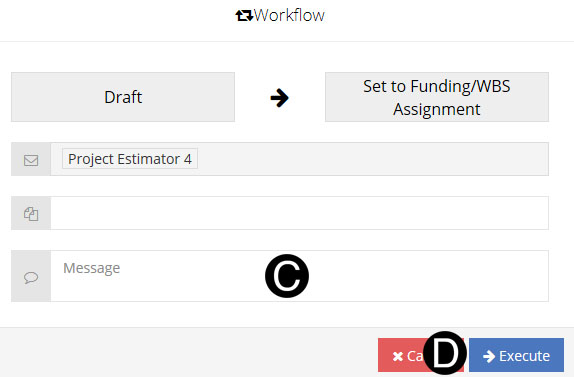
Step 7: Submit the JFC.
Click Workflow
Select Set to Funding/WBS Assignment.
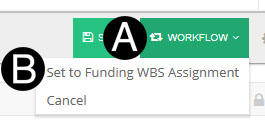
 Cancel:
Will Cancel the document for no further action and notify the
Initiator (RI or Delegate). Cancel:
Will Cancel the document for no further action and notify the
Initiator (RI or Delegate).
|
Type a message in the Message
field to include in the Email notification.
Click Execute.