D.6.1 Draft, Cancelled, Returned : Enter Payment Request Based on Schedule of Values


Description

Invoices are entered based on the Schedule of Values.  There are two roles that can enter an invoice:


Outcomes

The invoice request is submitted to the Responsible Individual in the Pending state.

Attach all necessary back up attachments that will allow your invoice to be approved in a timely manner (examples company invoice, receipts, timecards and conditional and unconditional releases) for payment.


There can only be one Draft Invoice at a time.  If an attempt is made to create another Draft Invoice, an error message will occur. To avoid this error workflow the current Draft Invoice.


Detailed Steps

Step 1: Log in to NexGEN.


Step 2: Create Invoice.

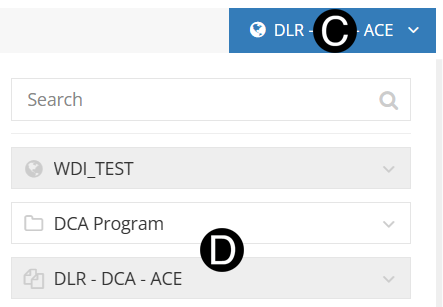
  1. Expand Invoicing on left panel.

  2. Select Invoices.


  1. Expand filter options.

  2. Verify Program and Project


  1. Click button.

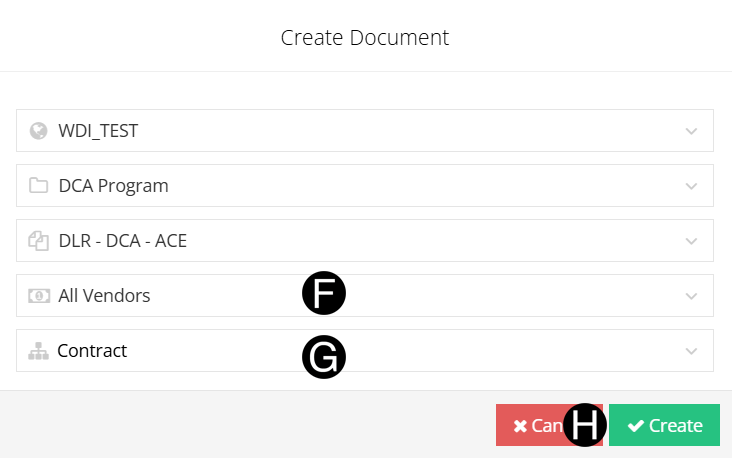
  1. Select Vendor from drop-down.

  2. Verify Contract.

  3. Click Create button.


Invoice Number is the Vendor company's Invoice Number.

To and From indicate the period of time the work was performed.

Retention will be withheld automatically as per the contract's terms and conditions.

Retention release request must be its own invoice and not combined with a standard payment request.


The invoice number must be a unique number not previously used, or an error message will occur.


Step 3: Complete all required fields.

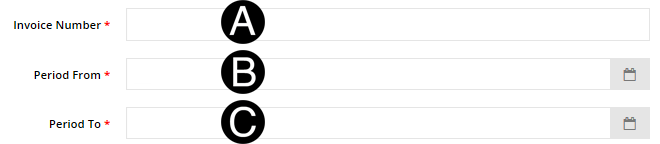
  1. Type Invoice Number in the field.

  2. Select Period From with date picker.

  3. Select Period To with date picker.


  1. Click Line Items with Remaining Balance to invoice

  1. Enter values by SOV Code/Desc in Completed and Stored This Period field or as a negative value in the Retainage This Period field if requesting a release of retention.

 % Completed to Date values will auto-populate.


Completed and Stored This Period and Tax Amount will auto-adjust on the remaining balance available.


Tax Amount will only be visible for Paid to Vendor /VAT Tax Disposition.


Step 4: Save and Validate the Contract Payment.

  1. Click .

If you have not yet completed the Invoice, you can Save as a draft without submitting and complete it at a later time.


If a routing Change Order is not yet completed (Fully Executed Invoicing Authorized) the SOV Line from the Change Order will not appear in the Draft Invoice.  Wait for the outstanding Change Order to completed, then create the Invoice Draft.


Referencesattachments_Header_Bar

Step 5: Attach the Vendor Invoice.

  1. Click upload Vendor Invoice PDF.


Referencesattachments_Header_Bar

Step 6: Attach a document, sketch, or URL (if applicable).       

  1. Click ADD ATTACHMENTS.

  2. Select the file to attach (Holding down Ctrl to select multiple attachments).

  3. Click Open to attach the document.


Step 7: Workflow Invoice.

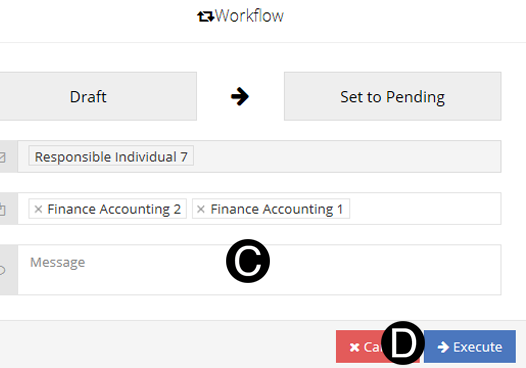
  1. Click Workflow drop-down list.

  2. Select Set to Pending.

  1. Type a message in the Message field to include in the Email notification (optional).

  2. Click Execute.