


 Description
The Idea Creator creates an Change Order in Clarity.
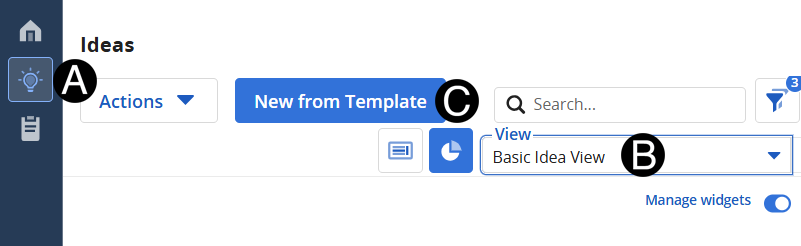
Click Ideas Icon.
Select Basic Idea View.
Click New from Template button.
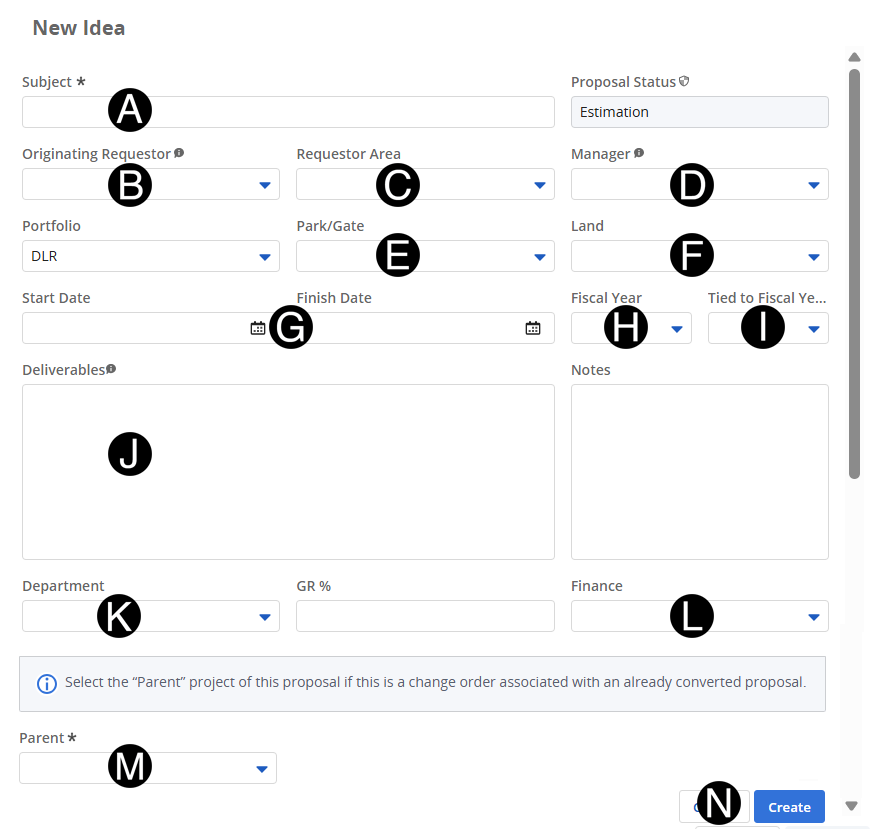
![]() Verify
Portfolio.
Verify
Portfolio.
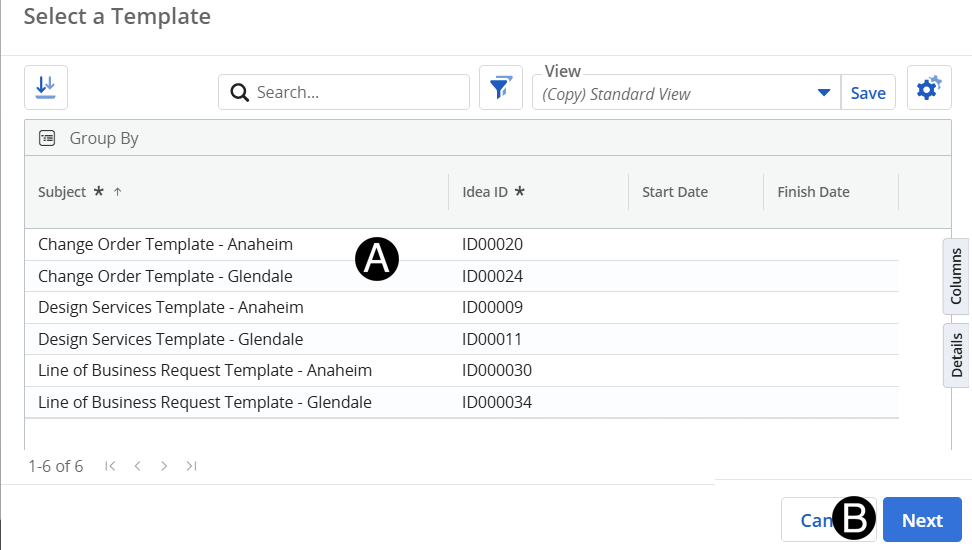
![]() The
one that is already converted to link the associated Ideas and Change
Order together.
The
one that is already converted to link the associated Ideas and Change
Order together.
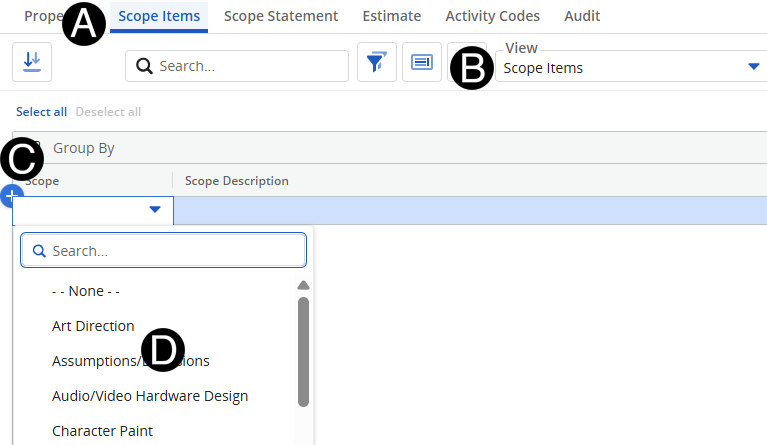
![]() You
can search for Scope Items by typing in the search.
You
can search for Scope Items by typing in the search.
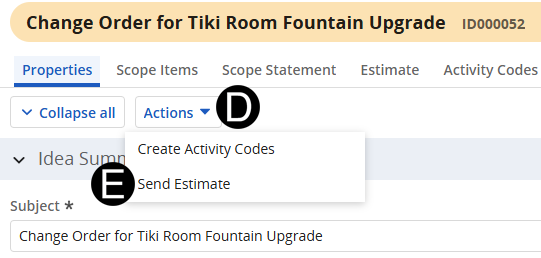
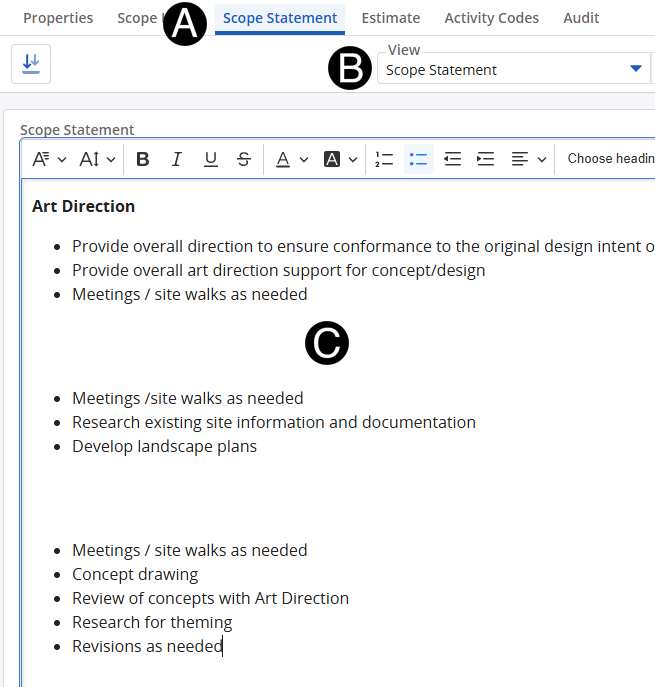
![]() This
will comprise the body of the Email.
This
will comprise the body of the Email.
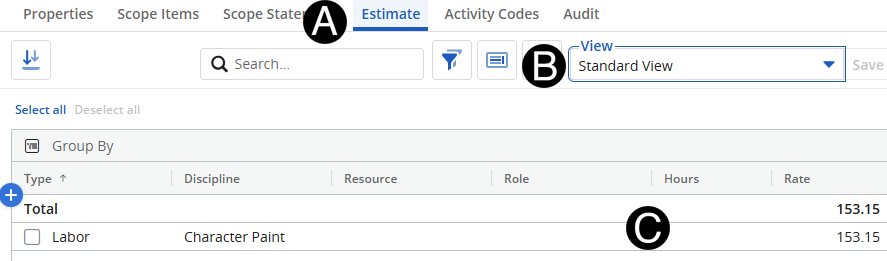
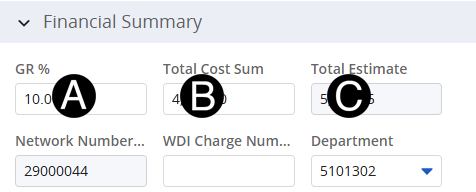
![]() If
the amounts need to be updated navigate to the Estimates Tab.
If
the amounts need to be updated navigate to the Estimates Tab.