


Clarity will allow WDI projects, finance, and leaders to make better decisions, informed by accurate and trustworthy resource data. By housing all resource assignment data in one tool, we will not only be able to answer the question "What are Imagineers working on?", but we will be able to look in to the future to easily do scenario planning, menu adjustments, or make new, data-based commitments. Project teams will have a marketplace for requesting resources on their teams and functional managers will be able to assess requests and assign them to the best team member suited for the job. As part of this initiative, we will be leaning in to technology standards being implemented across TWDC to better connect and streamline our data.
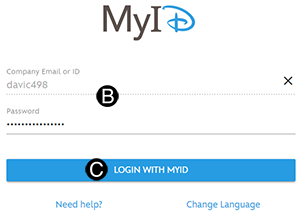
Step 1: Log in to Clarity.
|
|
 |
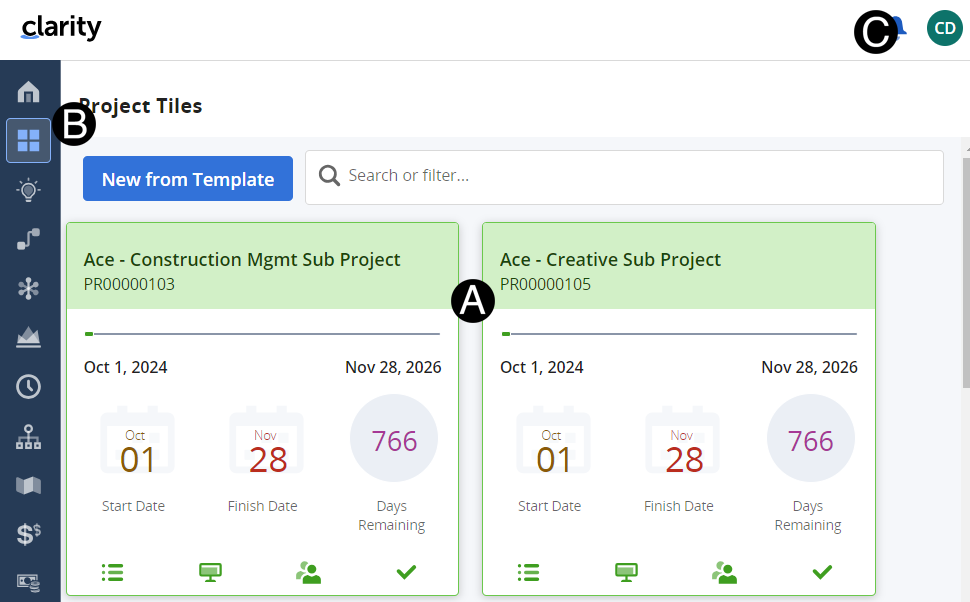
Navigation is on the left of the screen. The icons in the Navigation Bar may differ based on access:
|
|
|
|
|
|
|
|
|
|
|
|
|
|
|
|
|
|
|
|
|
|
|
|
On the home page are all the projects you can access to view or edit, depending on your role.
On the Navigation Bar are different icons that you will use to navigate. The Navigation Bar is based on system access so you may not have all of the icons displayed if they are not part of your access group.
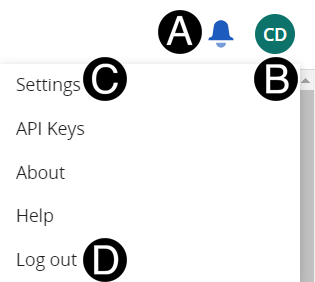
User Profile.
The user Profile is located in the top right-hand corner of the screen.
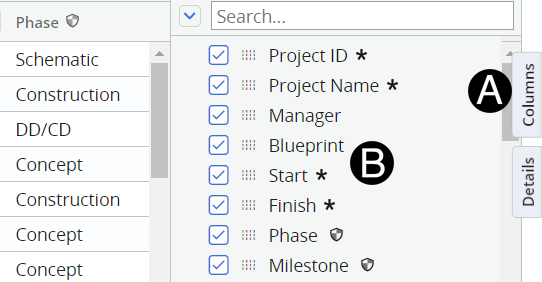
One of the common components in Clarity is the dynamic grid. You can find the grid throughout the application to manage projects, tasks and staffing.
In the Common Grid view, you can:
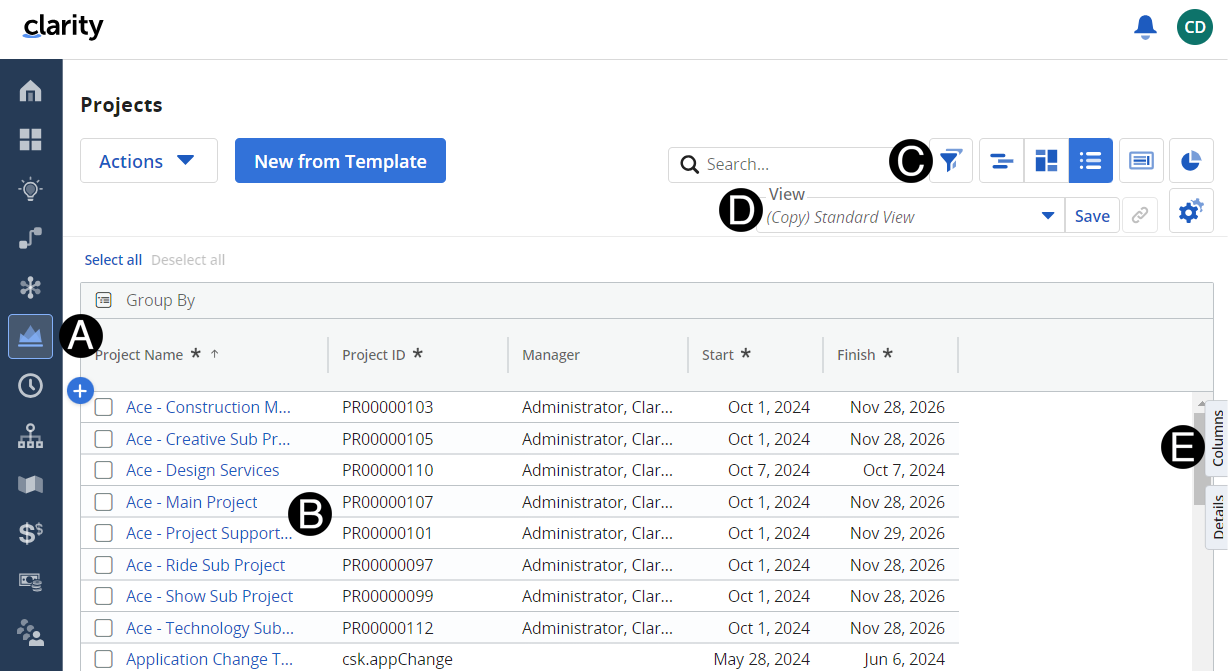
To show or hide columns on the grid
At the top of the Project Page are tabs for different functions and data collection.
Properties tab, we have all the information about the project. The Project Properties screen is divided in to sections: Project Summary, Project Classification, Resource Allocation Schedule, Financial Summary, and Additional Information.
Tasks tab, you will track all the different WBS on your project. This is how Clarity will know which actuals belong to your project.
Assignments Tab, you can detail specific information about what a person is doing, which WBS they will be charging, and what role they will play on that WBS, in case a person plays multiple roles on one project.
Staff Tab this is where you can aggregate your roles and resources needed to deliver the project.
Financials Tab you view the overall financial impact of your project.
SAP ID this tab tracks all of the SAP ID for the project.
AOP Budget tracks the budgetary information fiscal and project based.

Learning Support can be accessed on many different devises, including tablets and mobile devises.
Learning Support can be accessed from the following URL:
https://www.rundingproliance.com/PMCSLearningSupport/Landing/index_1.htm#t=index_1_1.htm
![]() Search
will display all topics in Learning
Support only click on items that are for your specific location.
Search
will display all topics in Learning
Support only click on items that are for your specific location.

Use buttons in-page links to jump directly to sections like:
Welcome Page. |
|
Main tools page example. |
|
Process Maps within Step-by-Step pages. |
|
Within Learning Support the following Icons will assist you:
Tips that will highlight information |
|
Warnings of information that needs to be completed or addressed |
|
Targeted information for a location |
|

 Project
Grouping: Displays budget or planned, actual, and forecast cost
amounts
Project
Grouping: Displays budget or planned, actual, and forecast cost
amounts 